Ultimate Emulator / Feature guide
Make Every Generation Look Its Best
Authentic, or enhanced. Your call.
Classic games were made for very different screens. Graphics lets you keep the original look or sharpen it for a modern display — and explains what each choice does, so you know why you might change it.
- Fit & Integer Scale
- Quality profiles
- Per-system & per-game
01 / Where the picture goes
Start with the window.
Open Settings → Graphics. Display sets how the game window appears and shows what Ultimate Emulator detected.
- Game Window Mode
- Windowed, or Borderless Fullscreen to fill the screen. The picture's size follows that window and your display; there is no separate resolution setting.
- HDR
- Off, Auto or On, offered only on a compatible HDR display path. Windows HDR must be turned on.
- Renderer
- Shown for information. Each system's built-in engine chooses how it draws, with a safe fallback; it is not a preference you set.
- Graphics Adapter
- The graphics card detected when Ultimate Emulator started.
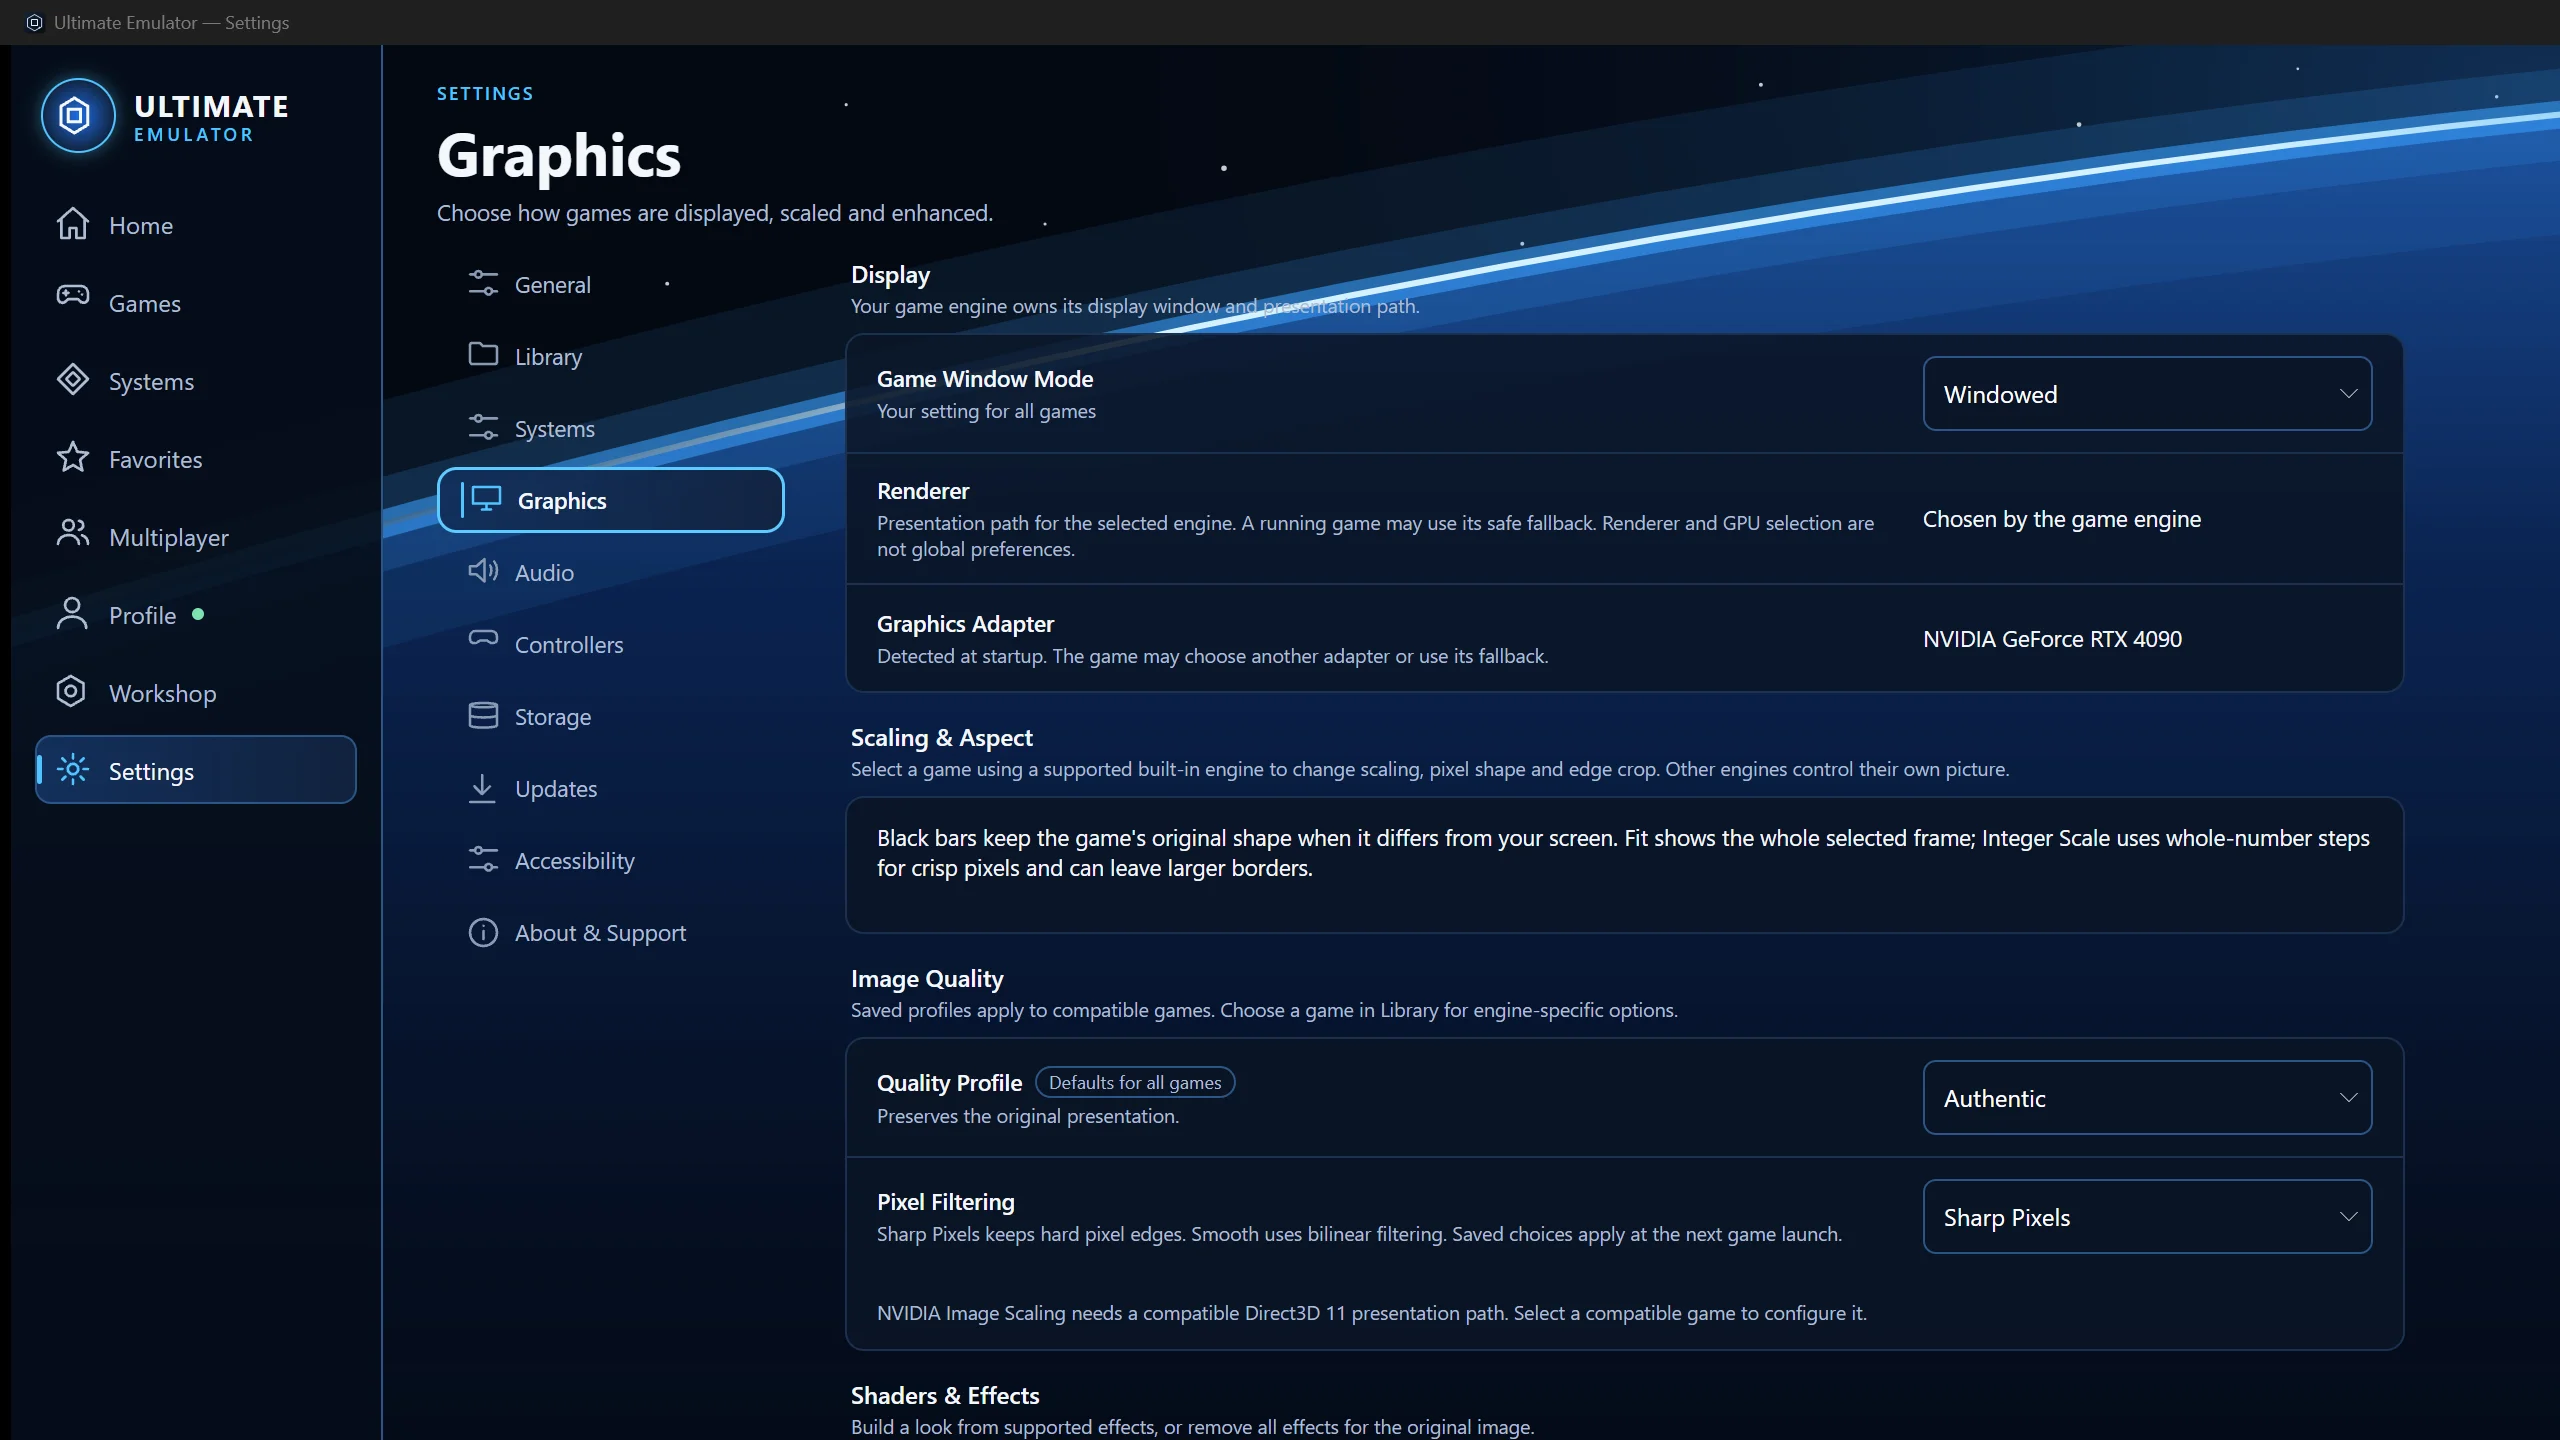
Settings → Graphics sets the defaults for every game: window mode, scaling and aspect, image quality and shaders. The renderer is shown for information; each system's engine chooses it. Captured from an earlier preview.
Open full-size capture02 / Small pictures, big screens
Fit, or perfectly square pixels.
Older systems drew small pictures. Scaling decides how that picture grows to fill your screen.
Use as much of the screen as possible
Shows the whole frame as large as it will go while keeping its shape. Best for most games and most screens.
Crisp, even pixels
Grows the picture in whole-number steps so every pixel is the same size. The sharpest result for pixel art, at the cost of larger borders.
03 / The shape of the picture
Keep the original shape.
Many consoles drew pixels that were not square on a TV. The recommended settings reproduce what players originally saw.
- Aspect Ratio
- Original — Recommended uses the shape each system reports. Square Pixels gives every pixel equal width and height, which can look slightly wider or narrower than the original.
- Overscan / Edge Crop
- Automatic — Recommended trims edges that old TVs hid. TV-safe edges trims more; Off — Full Frame shows everything the system drew.
04 / Authentic to enhanced
Choose how the picture is drawn.
Image Quality starts from a profile, then lets you adjust the details. Profiles are defaults for all games; a game can still have its own.
- Quality Profile
- Authentic preserves the original presentation. The other profiles — Enhanced, Ultimate and Custom — change the defaults for compatible games. Choose one, then save your changes.
- Pixel Filtering
- Sharp Pixels keeps hard pixel edges. Smooth blends them. Sharp Bilinear softens the steps while keeping detail.
- Internal Render Resolution
- For 3D systems, draws the game at a higher resolution for a cleaner image. PlayStation: Native, 2x, 4x, 6x, 8x. N64: Native, 2x, 4x, 8x.
- NVIDIA Image Scaling
- Available for compatible games on a compatible Direct3D 11 path, with its own sharpness control.
05 / Shaders & Effects
Add a look, or take it all away.
Shaders & Effects builds a look from supported effects, or removes them all for the original image.
Scanlines, Clean CRT, Basic LCD Grid
Recreate the feel of a tube TV or a handheld's screen.
Sharpen, Softening, Deband
Adjust edges and smooth out banding in gradients.
Gamma, Contrast, Saturation
Balance the picture for your display, or apply simple colour correction.
06 / Different games, different needs
One setting everywhere, or just here.
When you change graphics, choose where it applies. A more specific choice wins only where it applies.
-
Change a setting
Adjust it in Settings → Graphics, or in a game's own Graphics tab from your library.
-
Choose where it applies
Save for All Games, Save for This System or Save for This Game. Discard Changes leaves everything as it was.
-
Start the game
Profile, resolution, HDR and effect changes take effect the next time the game starts.
- Save for All Games
- Your defaults for every game.
- Save for This System
- For every game on one system — for example CRT effects for one console only.
- Save for This Game
- For one game. You can also open a game's settings in your library and use its Graphics tab.
- Discard Changes
- Leave everything as it was.
07 / Find your balance
Every enhancement has a cost.
Higher internal resolution and stacked effects ask more of your graphics card. If a game stutters, step back one setting at a time.
If a game runs slowly
- Lower Internal Render Resolution first — it is the most demanding setting.
- Remove effects you do not need.
- Try the Authentic profile to compare.
- On a laptop, plug in and make sure Windows is using its higher-performance graphics.
08 / Get the picture back
When the picture is not right.
The picture looks blurry.
Choose Sharp Pixels in Pixel Filtering, and try Integer Scale. Some effects soften the image; remove them to compare.
There are black bars around the game.
That is expected — they keep the original shape. Fit makes the picture as large as possible; Integer Scale can leave larger bars for even pixels.
An option I expected is missing or unavailable.
Options depend on the system's built-in engine. Internal Render Resolution, for example, is for PlayStation and Nintendo 64. Choose a game to see what applies to it.
The application says a saved graphics option is not supported.
Choose Authentic, or Use Default, then customize the picture again. The game keeps running with its safe fallback.
Only one game looks different from the rest.
It probably has its own graphics settings. Open its settings from your library and return them to the default.
Ultimate Emulator will not start after a graphics change.
Hold Shift while launching to start in Safe Mode, which skips enhanced presentation for that session. Change the setting back, then restart normally.